Disclaimer: Do at your own risk.
All below procedures are done with the understanding that the user backs up all critical data. This site and author is not responsible for any mistakes or problems encountered. I will try to make this as simple and painless as possible. Any novice should be able to hopefully follow the below steps.
This time I am going to show how I installed the New AntiX 8.5 to my internal Solid State Drives.
4gig SSD and 16gig SSD, I had Xandros 4 on this Netbook previously. To read up on New Features and to download AntiX. You can go to
HereThere are numerous ways to make a boot able Live USB. I used
Unetbootin to make mine like I did in
My Previous AntiX tutorial.It was also pointed out you can make a live USB using the antiX2usb installer via the AntiX Control Center. Below link will show you how.
LinkIf using Xandros to make Unetbootin work. All I can say is to make sure mtools and p7zip is installed in Xandros also.Otherwise the Linux Version of Unetbootin won't work (won't start).
There will be no swap partition made with this install. Swap partitions can be harmful for SSD drives.
Insert your bootable live USB of AntiX 8.5. Power up and hit Esc key and pick your pendrive as first boot device. When grub Menu comes up pick Netbook boot from the grub menu. Now from here on. These were my steps on how I installed AntiX 8.5 (my way).
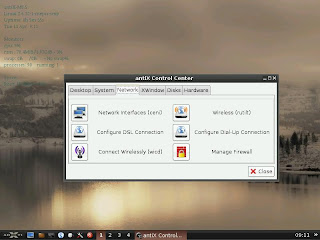
After getting to a Desktop. I went to the taskbar with the crossed wrenches icon and opened up AntiX Control Center and left clicked on the Network Tab.
I have connected my Asus EEEPC 900 using Ceni also. Ceni picks up my wireless and Cable interface just fine as wlan0 and eth0. I just prefer wicd but Ceni will work for you also.
CeniI picked Connect Wirelessly with Wicd. On the next window that opens. I go to the preferences tab and left click it. In the empty Connect Wireless Box I type in wlan0.
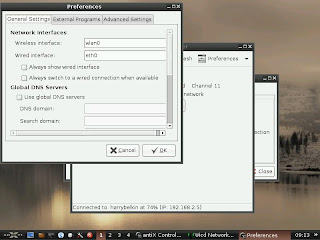
Then I left click on External Programs and switch from Automatic to dhclient. I then left click on the refresh tab and my router shows up and I connect via wireless to my router. A safer way to go about installing is if you have a land line. Use it instead if worried about dropping a connection. I just wanted to show I enabled wireless on my EEEPC 900.
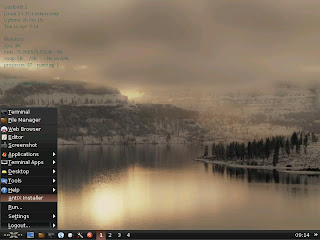
Ok, Now on to the install. Left click on Menu Tab on far left of taskbar. Pick the AntiX Installer 3rd up on the Menu.
Left click and next window asks for password. The password is
root
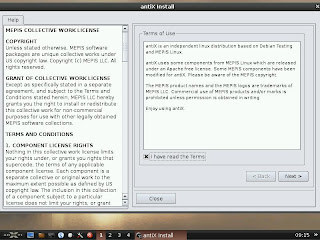
When Next Window opens you tick on the box agree to terms
Next window make sure sda is showing. Tick on Install to custom partitions. Then Left click on Gparted Button.
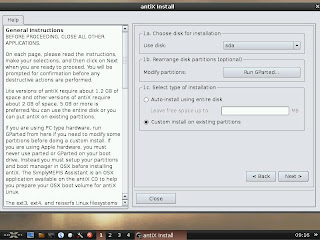
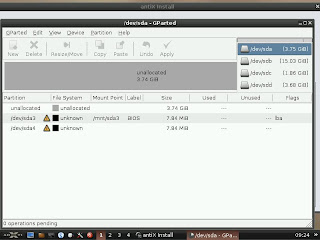
When parted Opens. You will see sda1, sda2, sda3, and sda4.
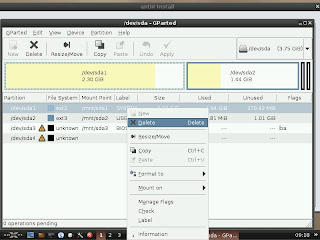
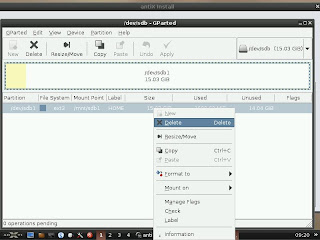
DO NOT TOUCH sda3 OR sda4. The only partitions you wish to delete are sda1 and sda2.. So right click on sda1 and select delete. Do the same also for sda2. Below I show sda1.
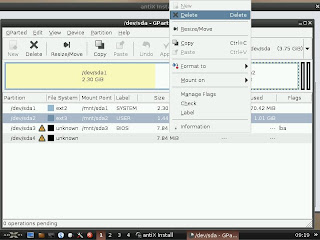
Below I show sda2
We will now move on to sdb drive which is the 16 gig secondary drive on my Asus EEEPC 900. I proceed to delete that partition also. In gparted in the top r/h corner hit the drop down arrow and select /dev/sdb. Then delete sdb like you did the 2 partitions on sda.
Ok. If you followed everything correctly so far your gparted window should look like mine below.
Check out that the assigned tasks you have given gparted (like delete sda1,sda2,and sdb) show in the bottom of gparted window.
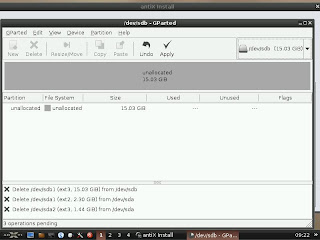
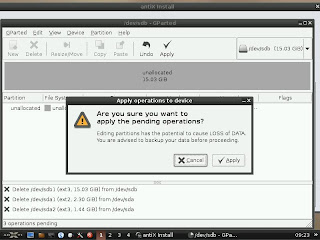
If everything looks good. Hit the apply button and let gparted do its job.You will be greeted by one last final warning. Say yes and you are off to starting on your AntiX install. Xandros will be no more. Not even the recovery you had when you used the F9 option on the Asus 900. This is a one way trip.
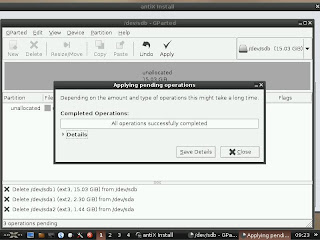
After you get the completed successful operations window. Hit the close button.
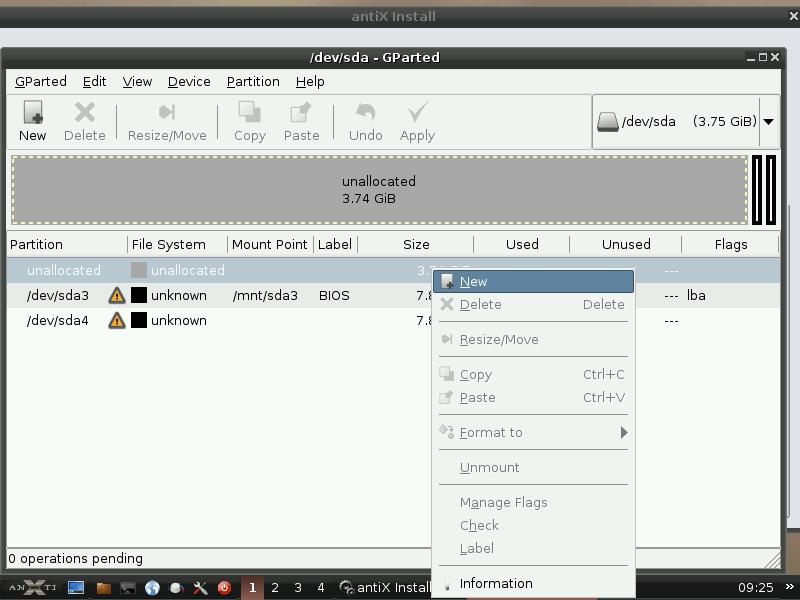
Now go back to the top r/h corner of gparted and select /dev/sda with the drop down arrow.
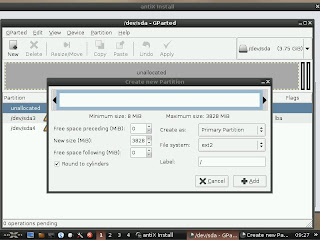
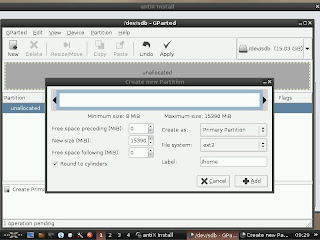
Left click on unallocated partition on sda and select new

Make it a primary partition. I picked ext2 file system because I have read that journaling file systems like ext3,reiserfs, etc.... are harmful for SSD drives. Better safe than sorry says I.
Label it as root (/).
Now after setting that up. Go to the top r/h corner again and select /dev/sdb
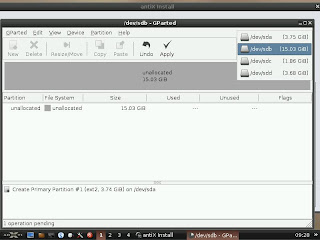
Again right click on the 16gig unallocated and select new
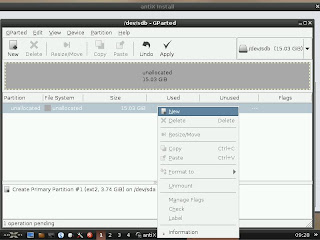
I made mine a primary partition, ext2 file system, labeled as /home.
Again. Double check the bottom of gparted window before saying apply operations.
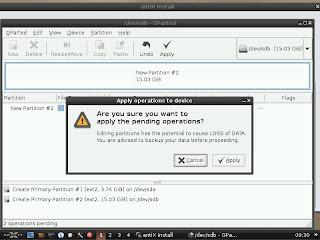
Below is the next window you should see after hitting apply button.

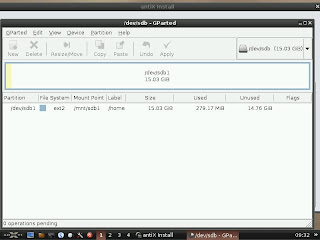
When done. Take a look at sdb and see if yours looks like mine.
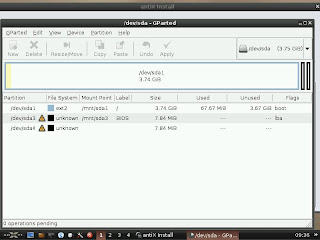
Now go back to sda and we are going to flag sda as bootable. Just right click and select Manage flags. Then tick on the boot box and hit apply.

After hitting apply your line for /dev/sda1 should look like mine.
Ok. You can close gparted now. You are done setting up your SSD drives for the installation process.
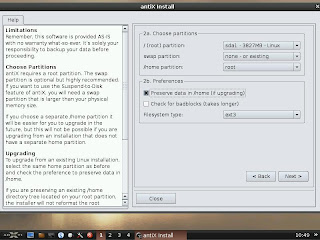
Now. To avoid some confusion. The Mepis Installer that AntiX 8.5 uses can not install /home to the secondary 16gig drive you formatted. It is a limitation because IMO the installer was made for platter ide and sata drives which are usually only one drive per laptop. I will show you later on how I moved the home folder to sdb 16gig SSD in as simple of procedures as I know how.
I have successfully done this procedure and am writing this tutorial on my Asus EEEPC 900 and all things I save to home now go on to my /home drive on sdb.
Now. Make sure sda1 is where the root partition is going. No swap. And home is also going to root for now. Make sure and tick on the box that says "preserve data in /home (if upgrading) so as to not overwrite your ext2 partition. If you don't click that box. /home will be formatted as ext3 during the install process. So to preserve my ext2 file system. I tick on that box also.
Select yes on the last minstall that pops up. You are ready to install AntiX 8.5 now.
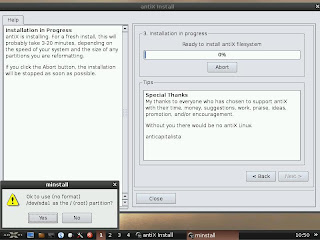
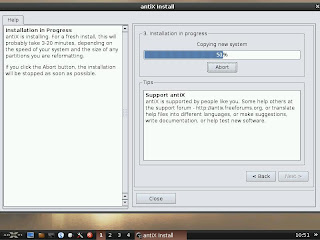
The install process is fast. This is your next window. I read the messages while installing.
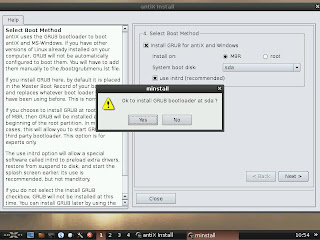
When done. We are on to installing grub. Make yours match my screenshot below for installing grub
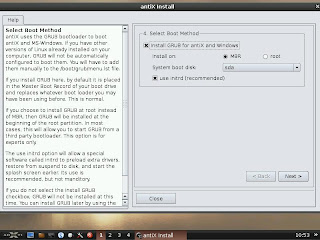
You will be asked if it is ok.Say Yes.
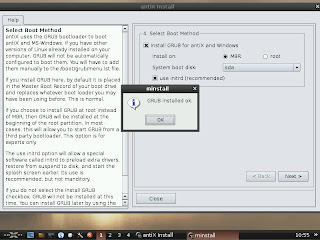
Confirmation grub installed OK is Next.
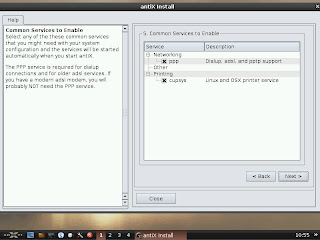
After hitting OK. The next window is for startup services in case you need dial up or printing services. I just leave the defaults for me and select next.
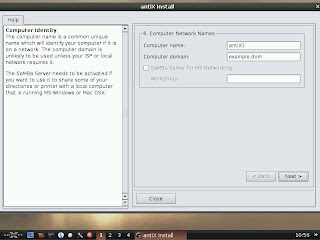
Next window is network names
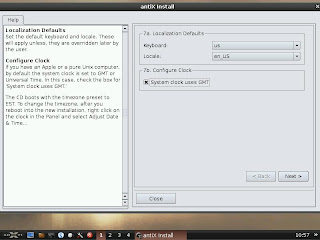
Next is localization Window. I am a Texan so I pick English. I ticked the GMT box (personal preference).
Next is user name and passwords.
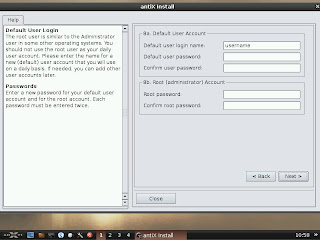
Don't freak out if you get a warning pop up saying something about not being able to name user folder. I got that pop up. Just say OK and hit finish when you are done.
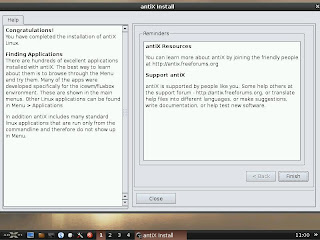
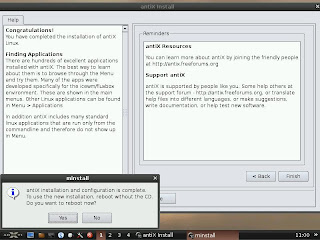
Next Window. You are done for now. Reboot and pull your live Pendrive when netbook shuts down. You are done with it.
Reboot to your new AntiX install. Just pick the top option in grubs menu. Slim is the login manager for AntiX. The Splash screen is by my good buddy Sakasa. If you wish to have wicd monitor show up on taskbar so as to see if you are connected. What I did was go to the crossed wrenches in toolbar and when AntiX control Center Opens I selected "Edit Icewm Settings and below window opens. I select startup tab on taskbar and uncomment the
"sleep 2 && wicd-client &" . Hit save on taskbar and exit.
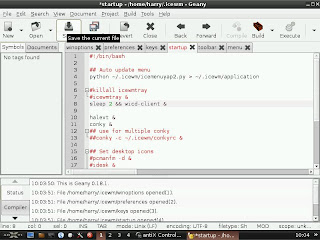
Next hit the red button on taskbar and log out and back in again. You should have a moniter on bottom r/h of taskbar

Now. The easiest way I know how to show you how I moved my home folder in / to /home on sdb is to provide a link to the thread I made at AntiX Forums. Thanks to SilverBear, dolphin_oracle,secipolla, and anticapitalista. I was successful in moving home on / of sda to
/home on sdb,
LinkAny questions you may have or comments. You can make at the AntiX section at
Mepis Lovers or the
AntiX Forum.
I am going to just provide some screenshots below to show how my edited /etc/fstab looks now.
Always back up your /etc/fstab or any other file that you are going to make changes toI do this by making a backup folder in home and inserting stock unchanged files in there and renaming them fstabbackup as a example.
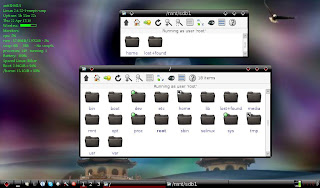
First shot shows how rox should appear after moving home to /home to sdb and symlinking /home on sdb to / on sda. The symlink is needed to move saved changes to the new home on sdb. My thread should pretty well explain how I went about doing this and has screenshots. If you get stuck. Ask and someone will answer in the AntiX forum or at Mepis Lovers.
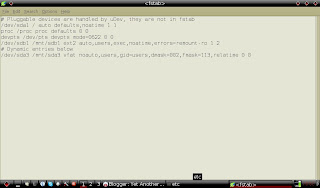
My current /etc/fstab as it now stands. Also after moving home to /home on sdb. Make sure home has file permissions so as user can make changes. I did this by opening a terminal. Typed in
gksu pcmanfm
entered my password and pcmanfm opened as root user. Then went to my /home drive and right clicked on home folder and selected properties. Then selected permissions and made my user able to read and write to folder and all sub directories. My Modified /etc/fstab below
Update: Limiting writes to SSD on EEEPC. I made this thread at AntiX Forum and another at Mepis Lovers. If interested
LinkThere might be better ways to write and do this kind of install and tutorial. But I am just a regular Home User trying to help out the Linux community for all the help given me. Happy Trails, Rok